I recently needed to deploy an Azure Functions application that was stored in GitHub. I could have cloned the repository, built the solution in Visual Studio, then deployed using Visual Studio’s deployment tools, but I really wanted a quicker way. Luckily Azure Functions allow automated deployment from a number of sources, including GitHub.
This post runs through the steps needed to automate the deployment. It uses my comment-moderation repository, which contains a simple 3 function app.
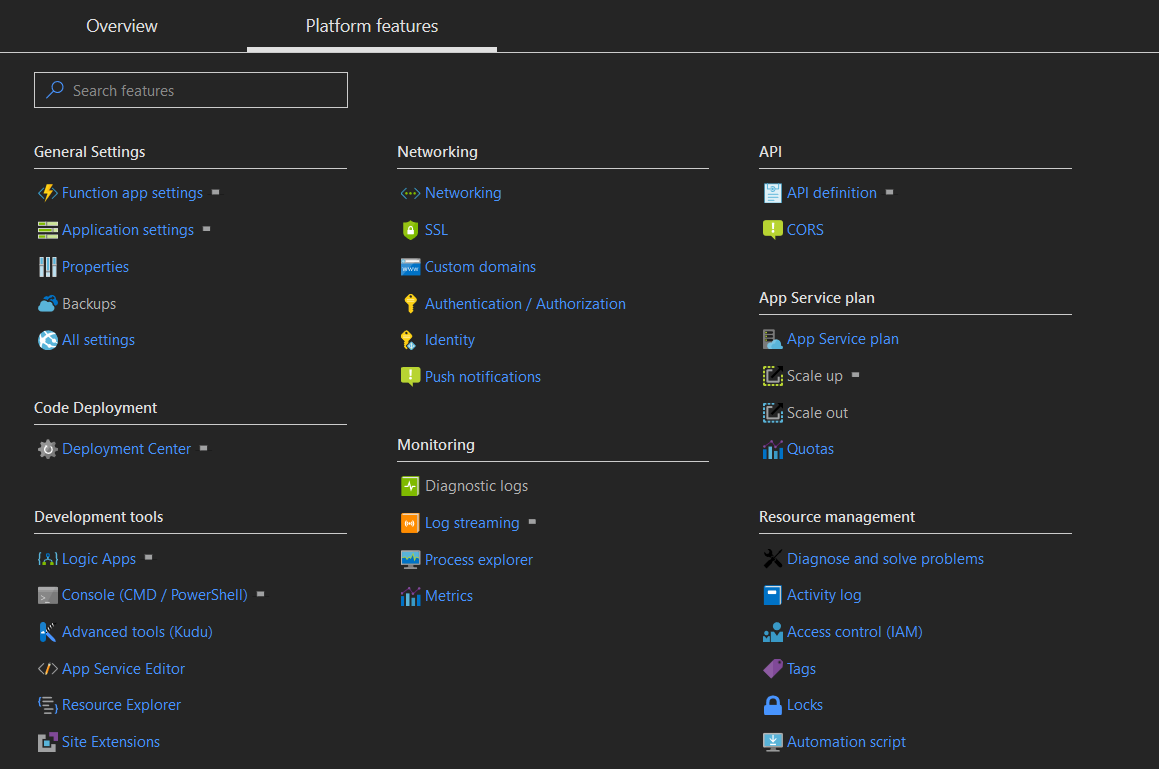
After creating an empty Function app, click on its Platform Features tab, then click on the Deployment Center link. This will launch a 4 step wizard that takes you through setting up the deployment process.
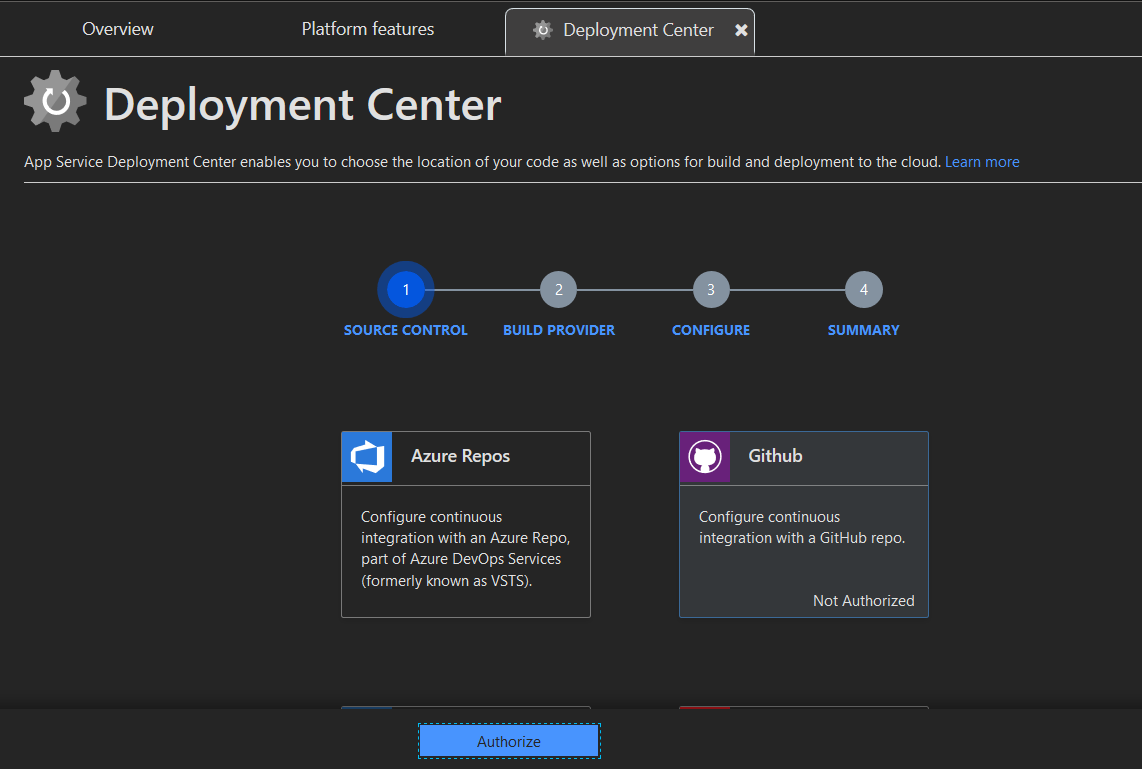
The first step in setting up the deployment process is selecting and authorising the source control provider. On this screen I selected GitHub and then clicked the Authorise button at the bottom of the screen.
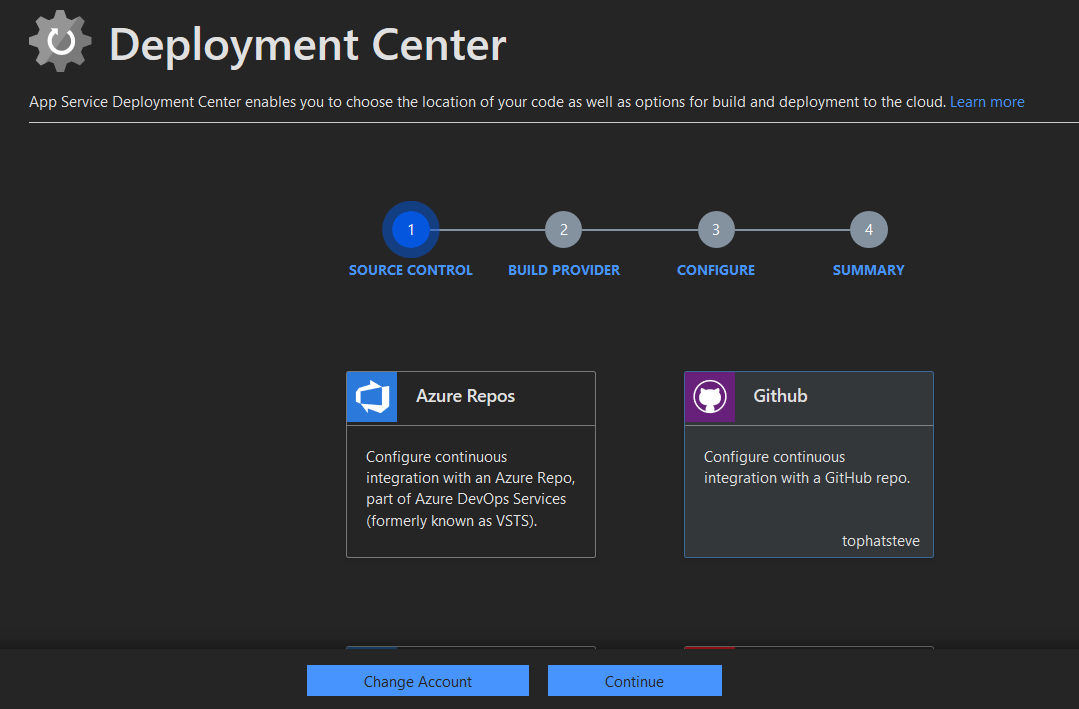
This launched an OAuth authentication process in GitHub and when finished redirected back to the Source Control screen, with the bottom button changed to Continue.
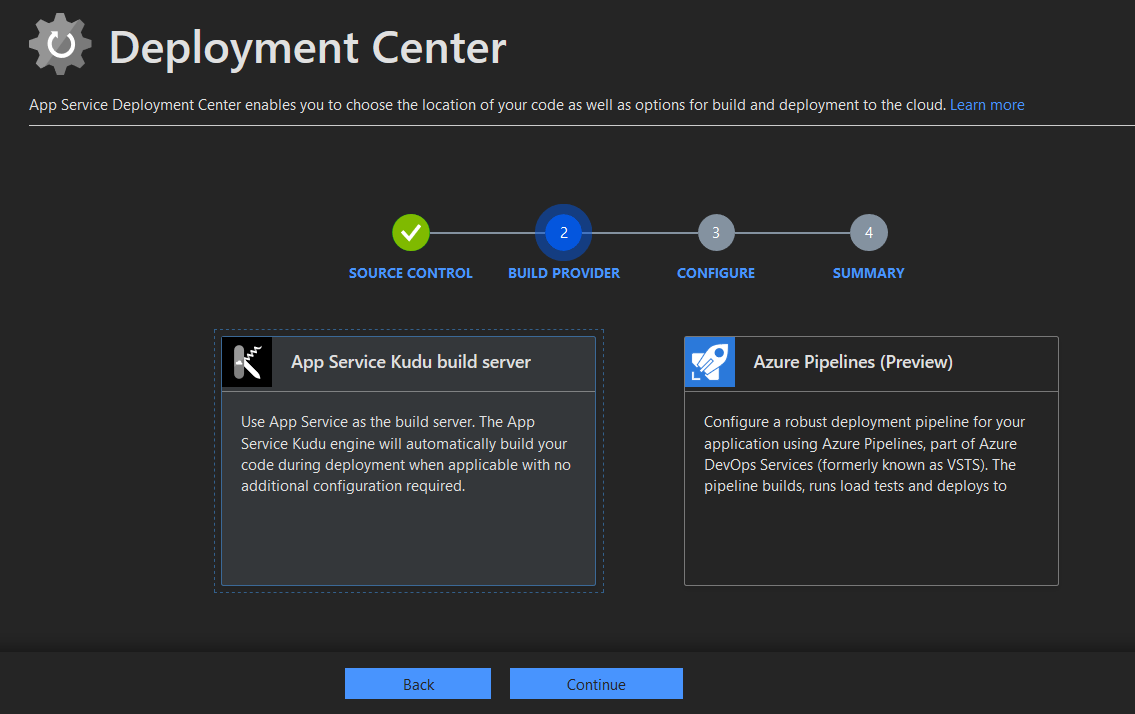
Clicking Continue takes you to the next step of the wizard, Build Provider. Here you can choose to use the built in Kudo build server, or use Azure Pipelines for a more complete CI/CD process. I decided to use Kudo because it doesn’t require any additional setup.
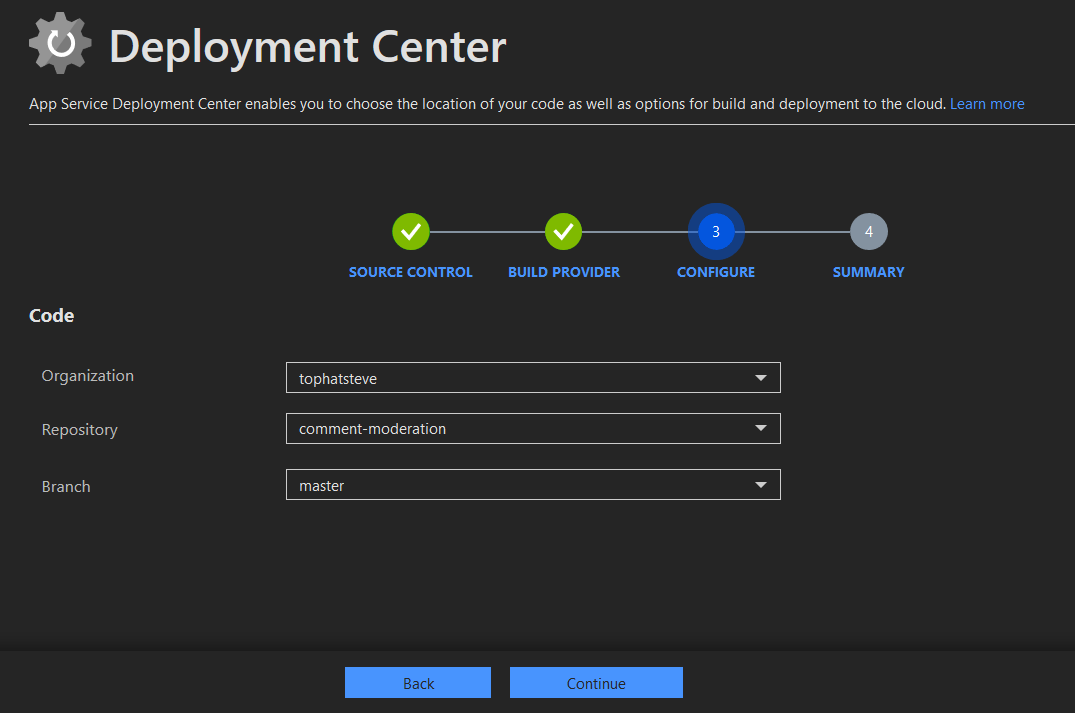
Clicking Continue takes you on to step 3, Configure. For a GitHub source control provider, this step allows you to pick which repository you want to deploy. I filled in the details for my comment-moderation master branch, and clicked Continue.
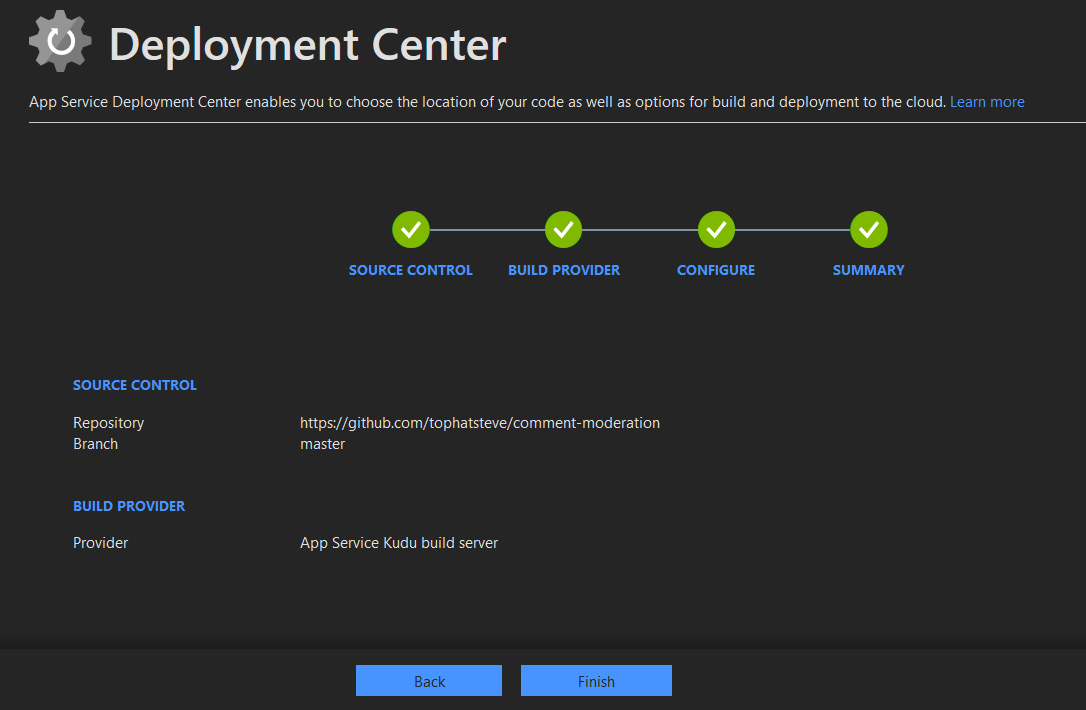
The final step of the process is Summary, which allows you to check the details you have already entered. If you are happy, click Finish to being the deployment.
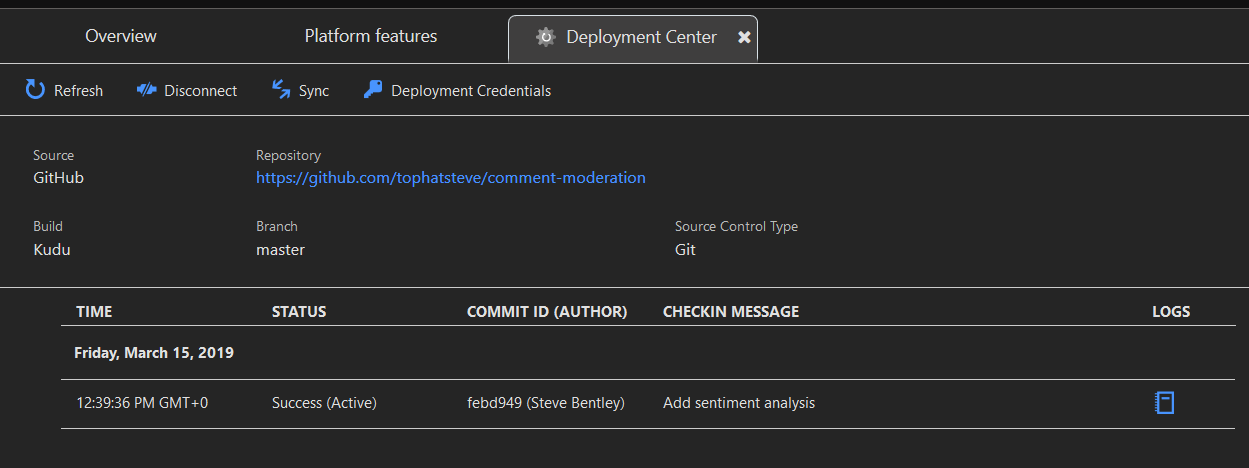
After clicking Finish, the main Deployment Center page is displayed again, this time with a table listing all deployments for that repository, and their status. After the build completes successfully, the status is changed to Success (Active).
